Create an Account
Because Zenko cannot do anything without at least one account to work with, the first step in any working deployment is to create an account. If you have not yet set up any accounts:
Log into the Zenko UI.

The CREATE NEW ACCOUNT window displays automatically.
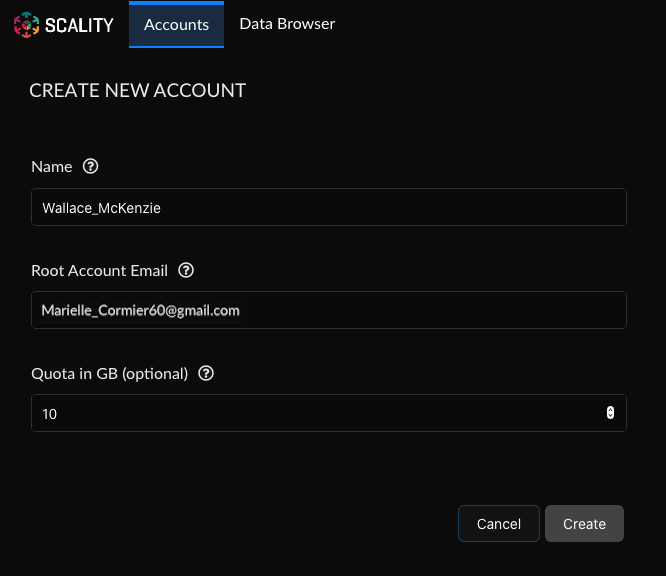
If you have installed at least one account, click the Accounts tab, then the Create Account button to raise the CREATE NEW ACCOUNT window.
Enter a unique account name and the email address for the Storage Manager. You can also use the Quota in GB field to set a hard upper limit on space available to this account. Once the account is created, the quota cannot be changed from the Zenko UI. If no value is entered, Zenko imposes no size limit on the account.
Click Create.
The Accounts view displays with the new account information.
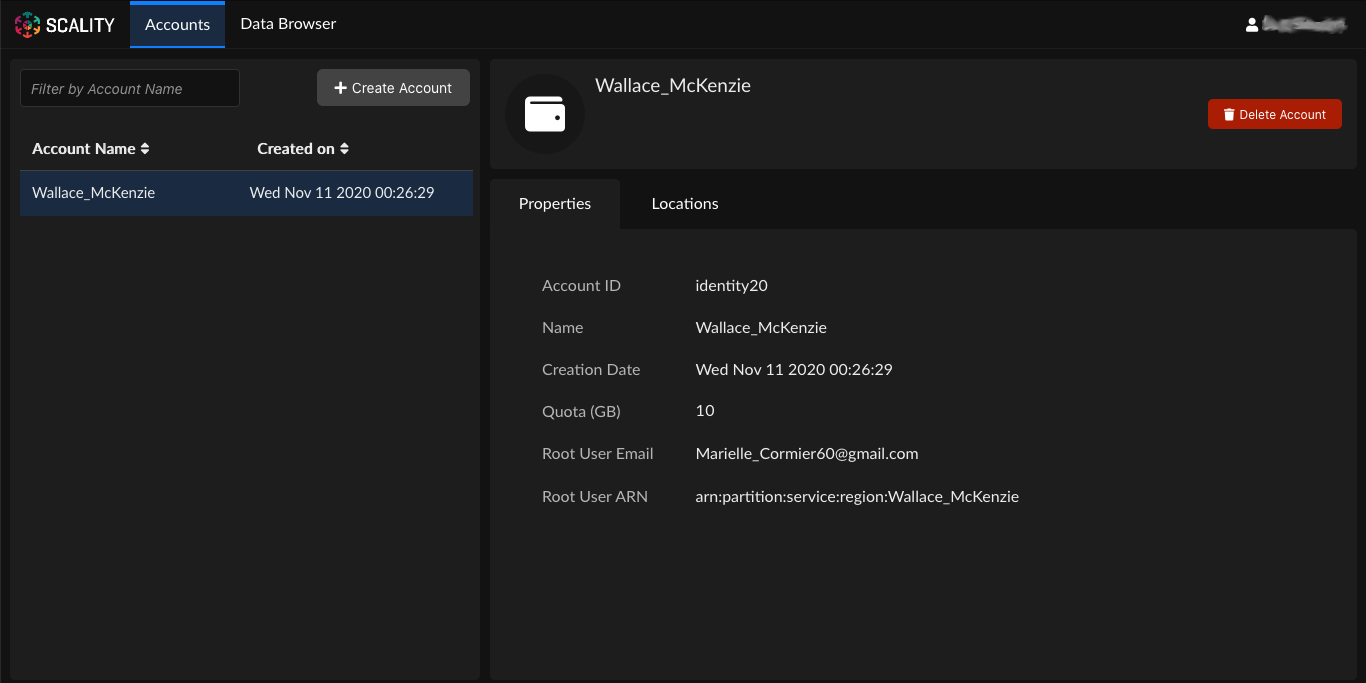
From this view, the Storage Manager can create, find, and delete accounts, or click the Locations tab to manage account locations and the buckets they contain.
Create an Account from the Command Line
To create an account from the command line:
Retrieve tokens as described in Retrieve Access Tokens.
Issue the following variable declarations and commands:
ZENKO_ACCOUNT='test-account-1'

USER_PARAMS=$(
    echo '{}' |
    jq -c "
        .userName=\"${ZENKO_ACCOUNT}\" |
        .email=\"${ZENKO_ACCOUNT}@zenko.local\"
    "
)

curl -s -k -X POST \
    -H "X-Authentication-Token: ${TOKEN}" \
    -H "Content-Type: application/json" \
    -d "${USER_PARAMS}" \
    "http://management.zenko.local/api/v1/config/${INSTANCE_ID}/user" | \
    jq '.'


