Install Zenko
Helm installs Zenko using packages of Kubernetes resource definitions known as charts. These charts, which Helm follows for each Zenko component, can be found under zenko/kubernetes/zenko/charts. For each component there is a Chart.yaml file and a values.yaml file. Helm reads the Chart.yaml file to establish such basic installation attributes as name and version number, and reads the values file for instructions on how to deploy and configure the component. Though manually editing the default settings in values.yaml is possible, it is much better to write configuration changes and options to zenko/kubernetes/zenko/options.yaml, which Helm can use to overwrite the default settings presented in the charts.
Follow these steps to install Zenko with ingress.
Note
The following example is for a configuration using the NGINX ingress controller. If you are using a different ingress controller, substitute parameters as appropriate.
Download Zenko
- Go to https://github.com/Scality/Zenko/releases and download the latest stable version of Zenko.
- Unzip or gunzip the file you just downloaded and change to the top-level (Zenko) directory.
Configure with options.yaml
Create an options.yaml file in Zenko/kubernetes/ to store deployment parameters. Enter the following parameters:
ingress:
  enabled: true
  annotations:
    nginx.ingress.kubernetes.io/proxy-body-size: 0
  hosts:
    - zenko.local

cloudserver:
  endpoint: "zenko.local"
You can edit these parameters using each component’s values.yaml file as your guide. Save this file.
To configure the ingress controller for HTTPS, go to “Configure HTTPS Ingress for Zenko” for additional terms to add to this chart.
If your Zenko instance is behind a proxy, add the following lines to the options.yaml file:
cloudserver:
  proxy:
    http: ""
    https: ""
    caCert: false
    no_proxy: ""
Enter your proxy’s full server address, including the protocol and port.
For example:
cloudserver:
  proxy:
    http: "http://proxy.example.com:80"
    https: ""
    caCert: false
    no_proxy: "localhost,127.0.0.1,10.*"
If the HTTP proxy endpoint is set and the HTTPS one is not, the HTTP proxy will be used for HTTPS traffic as well.
Note
To avoid unexpected behavior, specify only one of the “http” or “https” proxy options.
Install with Helm
Perform the following Helm installation from the kubernetes directory:
$ helm install --name my-zenko -f options.yaml zenko
If the command is successful, the output from Helm is extensive.
Note
The installation name must consist solely of alphanumeric characters and hypens. The name must start with an alphabetic character, and can end with alphabetic or numeric characters. Punctuation marks, including periods, are not permitted.
To see Kubernetes’s progress creating pods for Zenko, the command
$ kubectl get pods -n default -o wide
returns a snapshot of pod creation. For a few minutes after the Helm install, some pods will show CrashLoopBackOff issues. This is expected behavior, because there is no launch order between pods. After a few minutes, all pods will enter Running mode.
When all pods stabilize, Zenko is installed.
Register with Orbit
To register your Zenko instance for Orbit access, get your CloudServer’s name:
$ kubectl get -n default pods | grep cloudserver-manager

my-zenko-cloudserver-manager-76f657695-j25wq      1/1   Running   0       3m
Grab your CloudServer’s logs with the command:
$ kubectl logs my-zenko-cloudserver-manager-<id> | grep 'Instance ID'
Using the present sample values, this command returns:
$ kubectl logs my-zenko-cloudserver-manager-76f657695-j25wq | grep 'Instance ID'

{"name":"S3","time":1532632170292,"req_id":"effb63b7e94aa902711d",\
"level":"info","message":"this deployment's Instance ID is \
7586e994-01f3-4b41-b223-beb4bcf6fff6","hostname":"my-zenko-cloudserver-\
76f657695-j25wq","pid":19}
Copy the instance ID.
Open https://admin.zenko.io/user in a web browser. You may be prompted to authenticate through Google.

Click the Register My Instance button.
Paste the instance ID into the Instance ID dialog. Name the instance what you will.

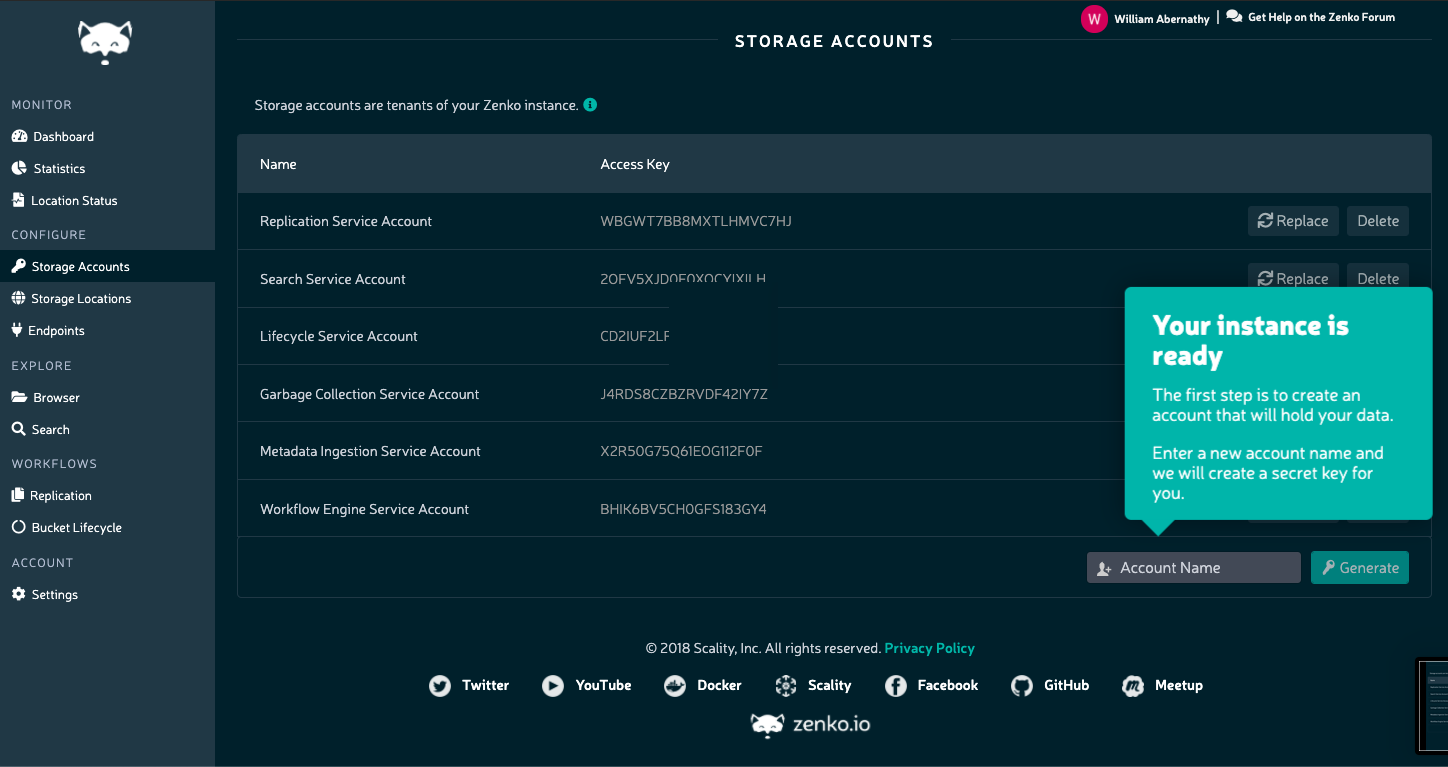
Your instance is registered.


