Upload Objects to Buckets
Prerequisites: Before uploading data to a bucket, you must have a storage account associated with a user, and you must have created at least one bucket.
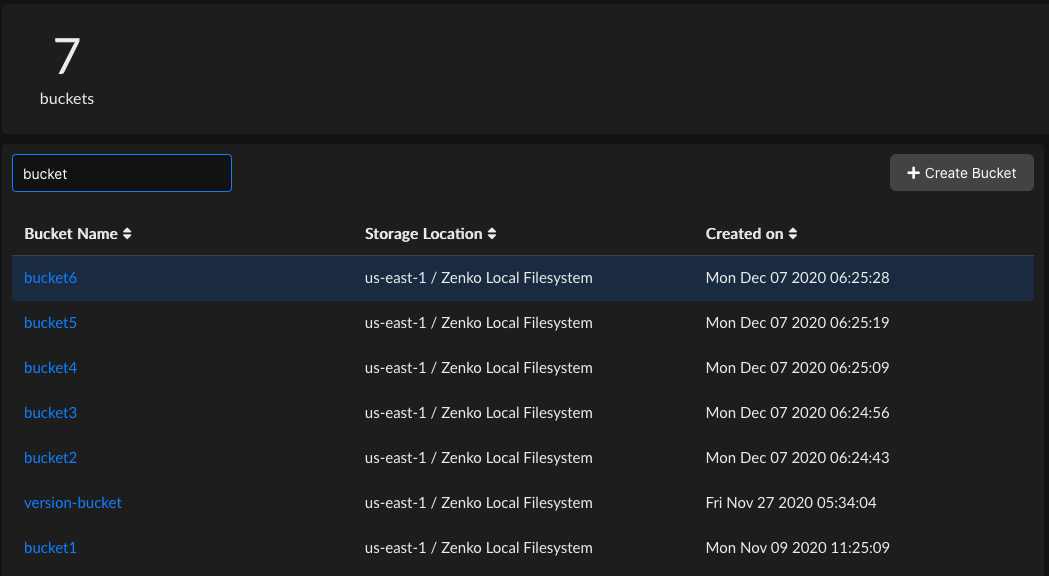
Click the Data Browser tab to open the bucket view.

Select an account from the account pull-down menu.
Click the link of the bucket you will upload data to.
The bucket’s contents (if any) are displayed.
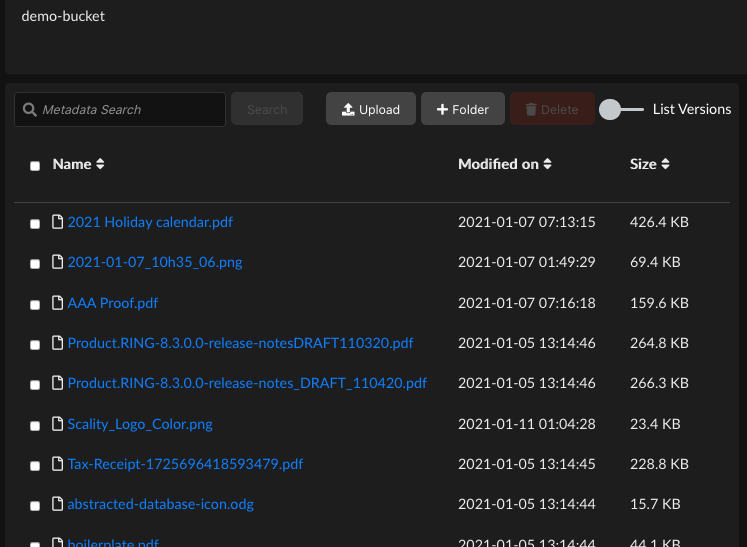
Click Upload to raise the Upload window.
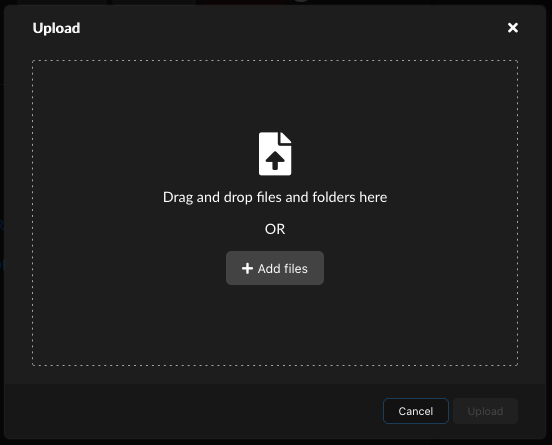
You can upload objects either by dragging and dropping from the local desktop (Windows Explorer, OS X, Linux desktop, for example) or by clicking the Add Files button and selecting objects for upload using your local operating system’s object manager.
Note
Browsers may limit the ability to upload directories. Uploading a directory may require that you recursively zip the directory and upload it as a single object, or access Zenko through a cloud storage browser such as Cyberduck.
Note
Object key name lengths are limited to 915 single-byte characters (109 fewer than the 1024 one-byte characters permitted in the AWS specification).
For multiple objects, continue dragging and dropping or click Add more files.
When you’ve added all objects to upload into the upload window, click Upload. Selected objects are uploaded to the bucket.


